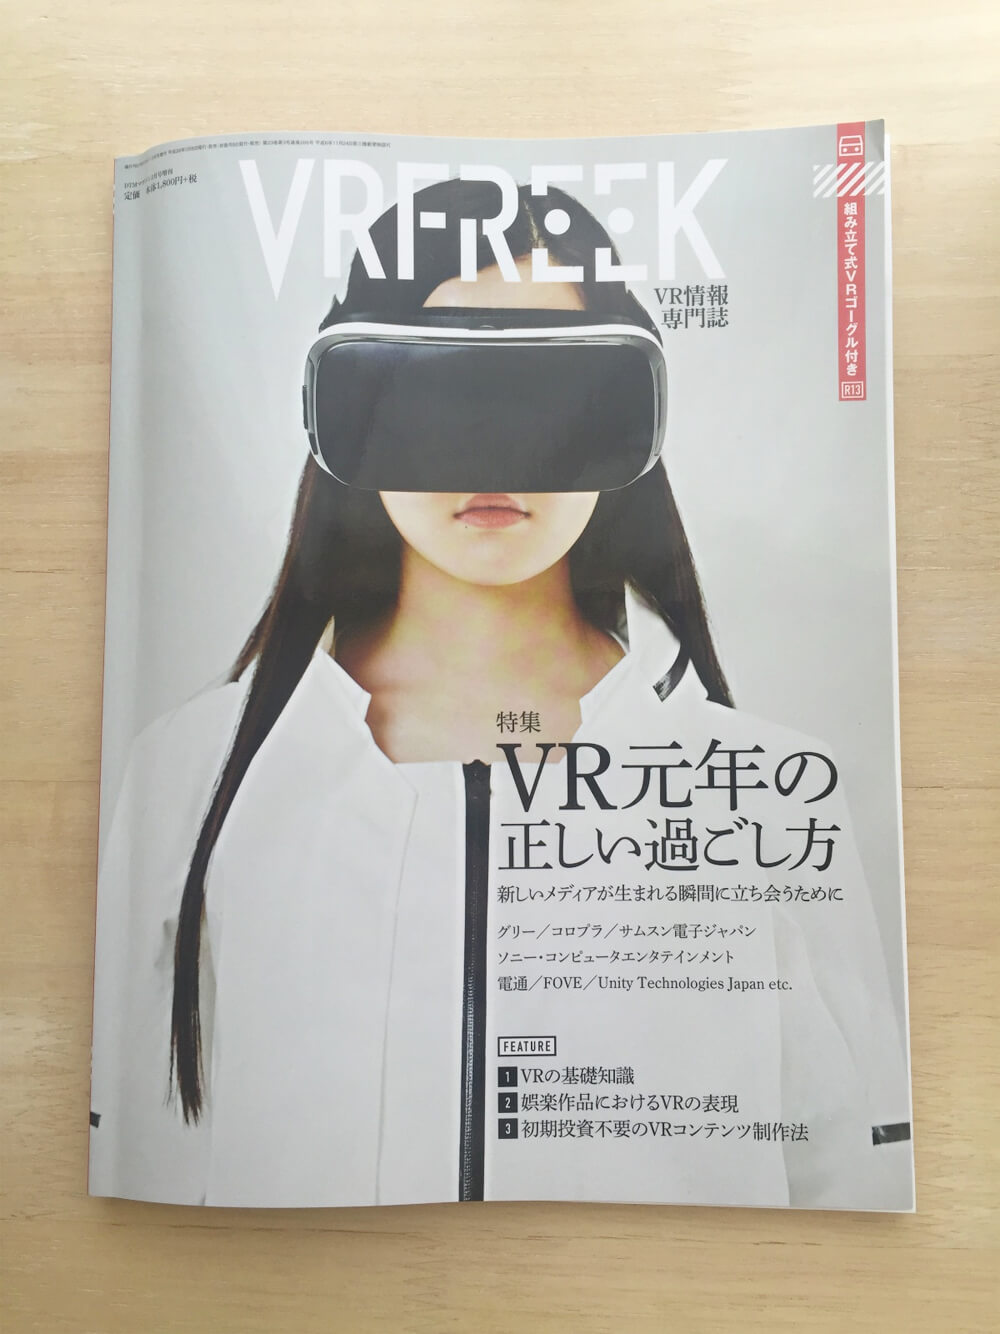
VR情報専門誌 VRFREEK を買って A-frame で webVR コンテンツを作ってみた。
A-frame の sample code が掲載されていたのでそれを参考に少しアレンジしています。
html の知識があれば特別なソフトを使わなくても意外と簡単に webVR コンテンツって作れちゃうんですね〜。
sample code つきで解説!
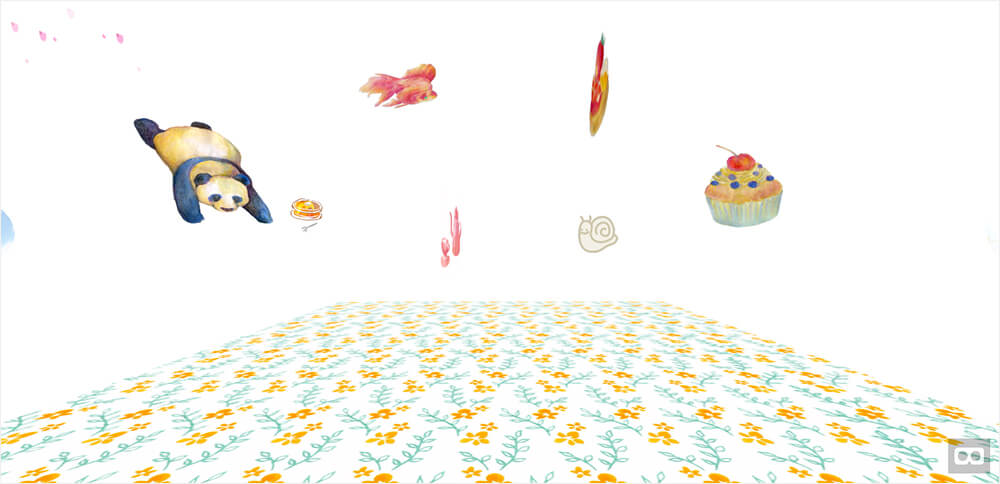
webVR sample
sample
https://lapin-luna.com/vrtest/2d.html
使用言語
A-frame,css
sample code
<meta charset="UTF-8">
<meta name="viewport" content="width=device-width">
<!DOCTYPE html>
<html lang="ja">
<head>
<meta charset="UTF-8">
<title>VRテスト</title>
<link href="css/style.css" rel="stylesheet" type="text/css" />
<script src="https://aframe.io/releases/latest/aframe.min.js"></script>
</head>
<body>

<!-- オブジェクトのアニメーションとテクスチャーの設定 -->
<a-scene>
 <a-image src="image/sakana.png" position="-2 5 -2" color="#ffffff">
   <a-animation attribute="rotation" dur="4000" to="-360 -360 -360" repeat="indefinite" direction="normal">
   </a-animation>
 </a-image>

 <a-image src="image/cake.png" position="2 5 -2">
   <a-animation attribute="rotation" dur="9000" to="0 -360 0" repeat="indefinite" direction="nomal" easing="ease-out-bounce">
   </a-animation>
 </a-image>

 <a-image src="image/cake3.png" position="-1 2 -2">
   <a-animation attribute="rotation" dur="9000" to="0 -360 0" repeat="indefinite" direction="nomal" easing="ease-out-bounce">
   </a-animation>
 </a-image>

 <a-image src="image/katatsumuri.png" position="2 2 -2" color="#ffffff">
   <a-animation attribute="rotation" dur="9000" to="-360 -360 -360" repeat="indefinite" direction="normal"></a-animation>
  </a-image>
 <a-image src="image/panda.png" position="-5 3 -1">
   <a-animation attribute="rotation" dur="10000" to="0 -360 0" repeat="indefinite" direction="nomal" easing="ease-out-bounce"></a-animation>
 </a-image>

 <a-image src="image/cake2.png" position="5 3 -2">
   <a-animation attribute="rotation" dur="9000" to="-360 -360 -360" repeat="indefinite" direction="normal"></a-animation>
 </a-image>

 <a-image src="image/pot.png" position="-8 3 -8">
   <a-animation attribute="rotation" dur="9000" to="-360 -360 -360" repeat="indefinite" direction="normal"></a-animation>
 </a-image>

 <a-sphere src="image/left.png" position="-10 2 -1" color="#ffffff">
   <a-animation attribute="rotation" dur="10000" to="0 -360 0" repeat="indefinite" direction="nomal" easing="ease-out-bounce"></a-animation>
 </a-sphere>

 <a-sphere src="image/right.png" position="10 2 -1" color="#ffffff">
 <a-animation attribute="rotation" dur="9000" to="-360 -360 -360" repeat="indefinite" direction="normal"></a-animation></a-sphere>

<!-- 床のオブジェクトとテクスチャーの設定 -->
 <a-image src="image/bg.jpg" width="10" height="10" rotation="-90 0 0"></a-image>

</a-scene>

</body>
</html>
解説
今回はオブジェクトにテクスチャをあて、アニメーションをつけてみました。
イメージはお花見(笑)
6行目で 3D オブジェクトにするための JavaScript ライブラリを読み込んでいます。
このライブラリーの A-frame は、 Mozilla VR チームがリリースした「VRの3DCG を html で構築する」オープンソースのフレームワーク。
3DCG となるとそれに伴った知識やソフトが扱えないと手が出せない状況にたいし、Webデザイナーでも簡単に 3DCG コンテンツをページデザインに組み込めるようにタグだけで操作できるようと2015年12月にリリースされました。
日本語で A-frame の使い方を分かりやすく説明されているページがあったのでこちらもチェック!
1.aframe.jsの読み込み
< script >タグにhttps://aframe.io/releases/latest/aframe.min.jsを指定します。
読み込めたら A-frame を記述していきましょう!
<script src="https://aframe.io/releases/latest/aframe.min.js"></script>
<!DOCTYPE html>
<html lang="ja">
<head>
<meta charset="UTF-8">
<title>VRテスト</title>
<link href="css/style.css" rel="stylesheet" type="text/css" />
<script src="https://aframe.io/releases/latest/aframe.min.js"></script>
</head>
<body>
<a-scene>
 <!-- ここにシーンに追加するオブジェクトを記述していきます -->
</a-scene>
</body>
</html>
2.オブジェクトの設置
a-image タグは画像を1枚の板のように扱うオブジェクト。このオブジェクトにsrcでテクスチャをつけて、 A-frame タグでアニメーションを指定していきます。
アニメーションの種類についてはこちらを参考にどうぞ。
このときのポイントは『color=”#ffffff”』を指定すること!オブジェクトに元々グレーがついているようで、#ffffffで白を指定してあげないとテクスチャが黒の半透明に透けてしまうようでした。
<a-image src="image/sakana.png" position="-2 5 -2" color="#ffffff">
 <a-animation attribute="rotation" dur="4000" to="-360 -360 -360" repeat="indefinite" direction="normal"></a-animation>
</a-image>
2-1.使用している A-frame タグの説明
| a-image | 画像を1枚の板のように扱うオブジェクト |
| a-animation | アニメーションタグ |
| attribute=”rotation” | アニメーションの種類(rotationは回転) |
| dur=”4000″ | 持続時間(1秒を1000として4000なら4秒で元の位置に戻る) |
| to=”-360 -360 -360″ | 回転の終了の位置(横向きに1回転なら”0 -360 0″) |
| direction=”normal” | アニメーションする方向 |
| repeat=”indefinite” | 動きは無限にリピートしますよ |
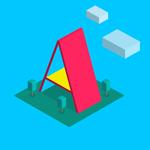
| position=”-2 5 -2″ | 横・縦・奥行きの設定で順にX軸・Y軸・Z軸とします。Yの場合+になれば上へ、−になれば下へ配置されます。こんなイメージ |
3.サーバーへアップして動作確認!
レンタルサーバーへ作ったデータをアップして動作確認してみよう!何度か試してみましたがローカルでは動かないようでした。
感想
想像以上に簡単につくることができた!苦手な jquery とかぐっちゃぐちゃなソースコードも使わない!なかなか楽しんで作ることができました。
A-frame ではオブジェクトに光源の設定を取入れることができるようでどこまでつくれるようになるのかが楽しみです。
VR情報専門誌 VRFREEK も続けて出るのかな?今後に期待。
VRちょっとさわってみた!くらいしか現時点では言えないけどこれから何かしらたくさんつくっていきたいな。
VRコンテンツや A-frame に関する本日本語の本早くでてほしいな!
参考にしたサイトさま
A-frame公式サイト
新しいWebVRフレームワークA-Frame入門
A-Frameを使った基本的なデモの作成
